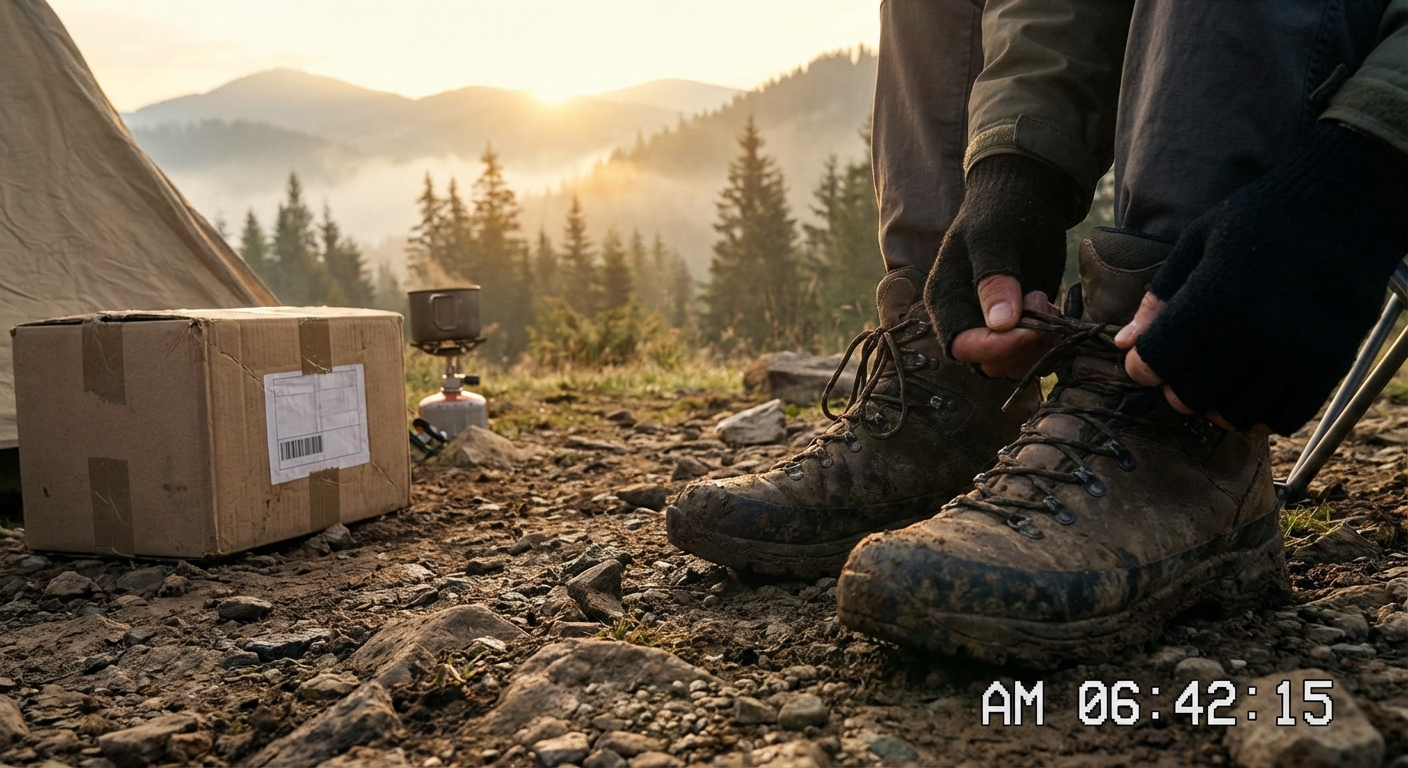
Fresh out of the box, even good boots are an unknown. Stiff leather, uncompressed foam, and untested seams haven’t earned your trust yet. Hike a big trip on truly new boots and you’re gambling with your feet.
New Boots Are a Liability Until You Break Them In
This guide lays out a straightforward, field-proven process for breaking in and maintaining hiking boots so they last as long as possible without chewing up your feet.
Step 1: Sanity Check the Fit Before You Commit
Breaking in boots will not fix a bad fit.
Before you toss the receipt, do this:
- Wear your usual hiking socks (and insoles if you use them).
- Stand on an incline (store ramp, stairs, or a board) facing downhill.
- Kick your toes forward in the boots.
- If your toes slam the front, the boots are too short.
Now face uphill and walk a bit.
- If your heel lifts more than a few millimeters, you’ll likely blister.
- If the top of your foot (instep) aches with moderate lacing, the boot is too shallow or tight for your foot.
If they pass these tests, keep them. If not, return them now. No break-in plan can fix the wrong last.
Step 2: At-Home Break-In (2–5 Days of Normal Use)
Start with short, low-stress sessions:
- Wear the boots around the house for 1–2 hours a day.
- Add stairs and standing tasks (doing dishes, working at a standing desk).
- The insole mold slightly to your arch.
- The upper crease naturally where your foot flexes.
This lets:
If pressure points or hot spots show up even in this easy use, mark them mentally. You’ll address them during lacing or with future tweaks.
Step 3: Neighborhood and Pack-Weight Walks
Next, take them outdoors with your everyday walking, not your biggest mission.
Session progression (rough guideline):
- Walk 1–2 miles on flat pavement or bike paths.
- If that’s clean, add a light daypack (5–10 lb) and walk 2–3 miles.
- Then add hills and mixed surfaces: grass, gravel, mild dirt.
Pay attention to:
- New rub spots
- Tingling toes or numbness (often too-tight lacing)
- Heel slippage
Adjust lacing — especially over the instep and at the ankle hooks — to fine-tune.
Step 4: First Real Trail Outings
Before any big trip, give your boots 2–3 shakedown hikes:
- Distance: 5–8 miles
- Elevation: enough to get real up and down, but not your hardest day of the year
- Load: roughly 70–80% of your expected trip pack weight
- Backup tape (Leukotape, athletic tape)
- A spare pair of socks
- A small strip of moleskin
Bring:
If a hot spot forms by mile 2, stop immediately and tape it. Don’t “see how it goes.” This teaches you how the boots behave and saves skin.
By the end of these sessions, a good boot will feel less like a cast and more like a firm handshake.
Lacing Tactics That Turn OK Boots into Good Boots
Most hikers just crank laces and go. You can get a lot more out of your boots with targeted lacing.
1. Heel Lock (Runner’s Loop)
Use this if your heel slips on descents:
- Lace up to the last eyelet before the hooks.
- Thread the lace down through the same-side eyelet to create a small loop.
- Cross the lace ends and pass them through the opposite loops.
- Pull down and back to cinch, then tie normally.
This anchors your heel without cutting off circulation across your foot.
2. Window Lacing for Top-of-Foot Pressure
If the boot presses painfully on your instep:
- Skip one pair of eyelets over the pressure point.
- Run the lace straight to the next set above.
This creates a “window” with less pressure on that hot spot.
3. Zone Lacing
Tighten more:
- Over the ankle hooks for better support on steep ground.
- Over the forefoot for toe splay on long, flat approaches.
Loosen slightly:
Different days and loads may call for different lacing patterns. Learn two or three and use them.
Maintenance: Making Boots Last Beyond One Season
Once your boots are broken in, keeping them alive is straightforward. Skip this and you’ll kill them faster than the trail will.
After Every Hike: The Five-Minute Routine
- Remove insoles and let them air out.
- Loosen laces fully so the tongue opens up.
- Brush off dry mud and grit with a soft brush.
- Air-dry in a ventilated area — never on direct heat.
- For leather, wipe with a damp cloth to remove sweat and salt.
Moisture is the enemy of leather and adhesives. Fast, gentle drying prevents mold, rot, and delamination.
Monthly or Every Few Hikes: Deeper Clean
For fabric or leather boots:
- Rinse the exterior with lukewarm water.
- Use a boot-specific cleaner or mild soap with a soft brush.
- Rinse thoroughly.
- While still damp, apply a DWR spray (for fabric) or appropriate leather treatment.
Let them dry overnight at room temperature.
Leather Boot Care: Doing It Right, Not Overdoing It
Full-grain leather boots can outlive synthetics — if you treat them like gear, not sneakers.
- Use dedicated leather products (Zamberlan Hydrobloc, Nikwax, Obenauf’s, etc.).
- Apply sparingly, working small amounts into the leather.
- Wipe off excess; you’re feeding the leather, not glazing a donut.
- Soften support structures
- Gunk up breathability
Over-conditioning can:
Once every few longer trips is usually enough unless you’re constantly in wet brush or snow.
Waterproofing: Maintaining the Barrier
Most waterproof boots rely on:
- An internal membrane (Gore‑Tex or similar)
- External DWR (durable water repellent) on the fabric or leather
The membrane either works or it doesn’t; you can’t fix a torn one. But you can maintain the outer DWR so boots don’t soak up water like a sponge.
Signs your DWR is failing:
- Water no longer beads up; it darkens and wets the outer immediately.
- After cleaning, apply a DWR spray or conditioner made for your boot’s material.
- Follow manufacturer instructions and heat-set if recommended (usually a low-heat dryer or hair dryer at a distance — always check label first).
Fix:
Storage: Don’t Cook or Crush Your Boots
How you store boots off-season matters.
Good storage:
- Cool, dry space
- Away from direct sunlight
- Laces loosened, insoles dry
- Hot car trunks or attics
- Damp basements
- Compressed under heavy gear
Bad storage:
Excessive heat cooks glues and midsole foam. Damp and dark invites mold. Give boots the same respect you’d give a good tent.
When to Repair vs. When to Retire
Signs You Can Fix
- Lace hooks/eyelets loose: Often repairable by a cobbler.
- Minor stitching issues: Small seam separations can be restitched.
- Worn but intact outsole on a stitch-down or welted boot: Often resoleable.
Signs It’s Time to Move On
- Crumpled midsole: You feel every rock now; cushioning is dead.
- Significant delamination: Upper pulling away from sole on cemented constructions.
- Leather cracks at flex points: Structural failure, not just cosmetic.
For resoleable models (common in premium leather boots), a resole can give you another full life cycle. Synthetics are usually end-of-life once the sole or midsole fails.
Field-Tested Care Kit Checklist
Throw a small boot and foot care kit into your pack:
- Short strip of Leukotape (pre-stuck to a plastic card)
- Small patch of moleskin
- A few alcohol wipes (for cleaning skin before taping)
- Spare thin liner socks
- Mini brush (for longer trips in abrasive dust)
- A tiny tub of leather conditioner or wax
- A short length of spare lace
On longer expeditions with leather boots, consider:
This weighs less than many snacks and can save your trip.
The Payoff
Boots that are broken in properly and maintained with basic discipline:
- Blister less
- Support better
- Last seasons longer
Treat your hiking boots as mission-critical gear, not disposable sneakers. Break them in methodically, keep them clean and dry, and they’ll pay you back one mile at a time.