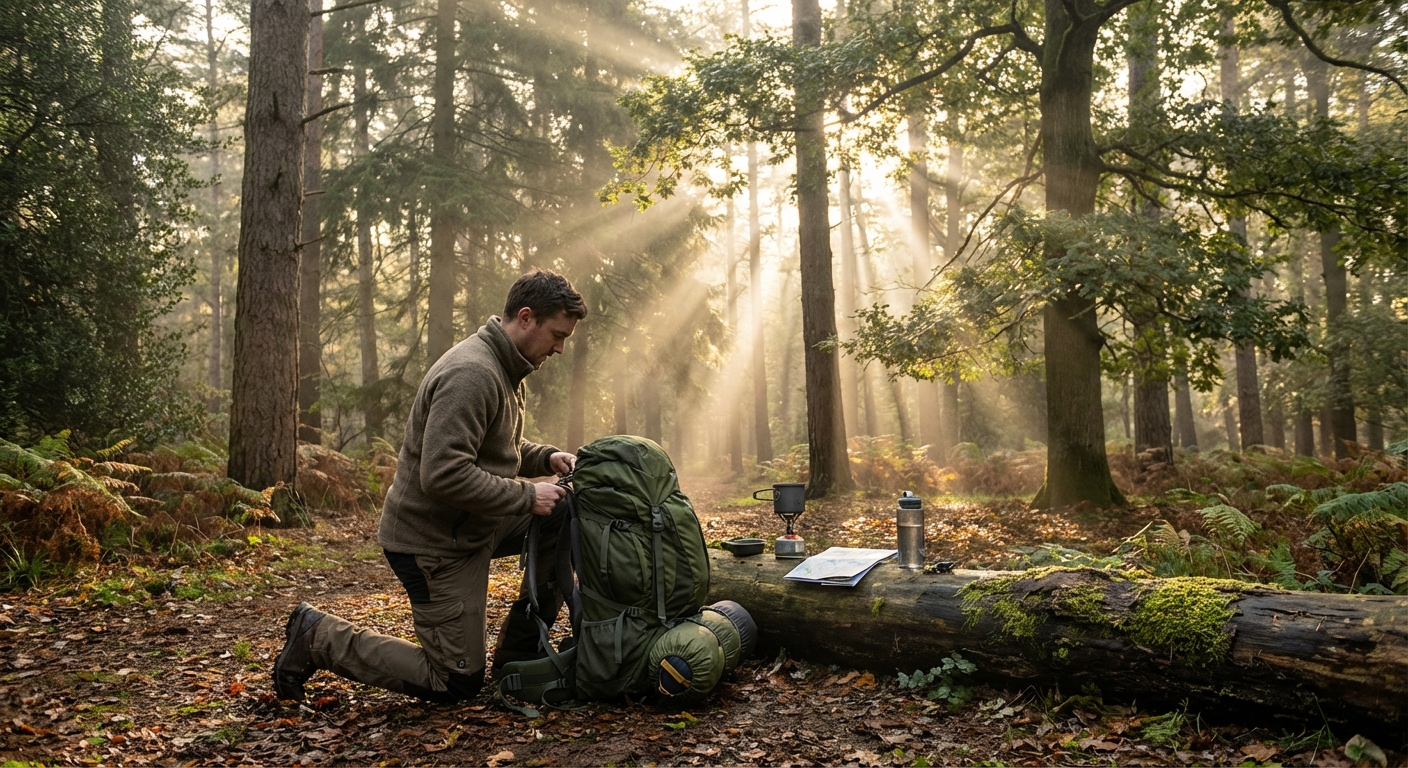
You can spend a small fortune on a backpack and still hate every mile if you load it wrong or ignore fit. The good news: most packs can be made a lot more comfortable with smart adjustment and packing.
A Good Pack Wears You In, a Bad Pack Wears You Out
This guide focuses on the practical steps: getting your pack to ride right and loading it so you’re not fighting your gear all day.
Step 1: Dial in the Fit Before You Hit the Trail
You can’t fix bad sizing on the trail, so start here.
Measure Your Torso
You’ll need help for accuracy.
- Tilt your head forward and find the bony bump at the base of your neck (C7).
- Place your hands on your hips with thumbs pointing back; feel the top of your hip bones.
- Measure from C7 straight down to the line between your thumbs.
Match that measurement to the brand’s size chart. Don’t guess. A "medium" in one brand can be a "small" in another.
Adjust the Hip Belt
Load the pack with 15–25 lb (water jugs work).
- Set the hip belt so the center of the padding sits on top of your hip bones.
- Buckle and tighten evenly from both sides.
- You want most of the load on your hips, not your shoulders.
If the belt rides on your waist or slides down, the torso length or size is off.
Tune the Shoulder Straps
- Snug them so the pack hugs your back without crushing your chest.
- There should be no giant gap between your shoulders and the straps.
- Straps should curve around your shoulders without digging into your neck.
If the anchor point sits well above your shoulders even when loaded, the torso is too short. If it’s way below, the torso is too long.
Set Load Lifters and Sternum Strap
- Load lifters (small straps at the top of shoulder straps) should angle at about 30–45°.
- Pull them just enough to bring the top of the pack closer to your body.
- Sternum strap should sit roughly an inch below your collarbones and be snug, not tight.
Once you’ve got basic fit, walk around for 15–20 minutes. Make micro-adjustments until nothing’s rubbing or pinching.
Step 2: Pack by Weight, Shape, and Access
A well-loaded 30 lb pack feels better than a poorly loaded 25 lb pack.
The Simple Packing Zones
Think of your pack in three vertical zones:
Bottom: Light, bulky items
Core (against your back): Heavy, dense items
Top and outside: Medium/light items and things you need often
Bottom: Build the Cushion
Put light, compressible gear at the bottom:
- Sleeping bag or quilt (in a dry bag or pack liner)
- Sleep clothes
- Foam pad (if it fits inside)
This creates a soft base and keeps critical insulation away from leaks and spills.
Core: Build the Engine Block
Against your spine is where the heaviest items should ride, tight to your center of gravity.
Good items for the core zone:
- Food bag
- Cook kit
- Bear can (if required)
- Dense clothing layers in a stuff sack
Test by putting the pack on: you should feel the weight close to your back, not pulling you backwards.
Top and Periphery: Fast Access and Medium Weight
At the top and in outer pockets, stash items you’ll need during the day:
- Rain jacket and wind shell
- Warm hat and gloves
- First-aid kit
- Toilet kit
- Filter and water treatment
Hip belt pockets are perfect for:
- Snacks
- Lip balm
- Phone or small camera
- Tiny multitool
Side pockets:
- Water bottles
- Tent poles
- Fuel (in a separate bottle or canister)
Avoid hanging heavy gear far back from your spine (like big items on the outside of the pack). That leverage will feel awful by midday.
Step 3: Control the Load with Compression
Straps aren’t just decorations.
Cinch in Stages
- Load the pack.
- Stand it upright and compress the bottom straps first.
- Work upward, cinching each set of straps so the load is snug and doesn’t sag or wobble.
You’re aiming for a tight column of weight, close to your center of gravity.
Avoid the Lumpy Spine
If you can feel distinct bumps against your back, you’ve packed hard items too close to the back panel.
- Rotate cooking pots and stoves away from the spine.
- Use clothing or your tent body as a buffer.
Your back should feel flat and even against the pack.
Step 4: On-Trail Adjustments That Save Energy
Your body changes over the day. So should your pack.
Rotate Pressure Points
Every 60–90 minutes:
- Tighten the hip belt slightly, loosen shoulder straps a touch.
- Next break, do the reverse.
You’re shifting load between shoulders and hips to avoid hot spots and fatigue.
Use Load Lifters on Climbs and Descents
- Uphill: Slightly tighten load lifters to bring the pack closer, helping your balance.
- Downhill: Relax them a bit so the pack sits slightly back and doesn’t drive into your neck.
Small adjustments, not dramatic yanking, make the difference.
Secure the Danglers
Flapping straps and gear cost energy and can snag on brush.
- Roll and tape or tuck extra webbing.
- Recheck axe loops, trekking pole holders, and any exterior lash points.
Step 5: Weight and Durability: What You Can Get Away With
Smart packing can let you run a lighter, less padded pack without suffering.
If You Use an Ultralight Pack
- Keep loads inside the recommended range (often 25–30 lb max).
- Avoid rigid, sharp items against the back.
- Reinforce known wear points (bottom panel, shoulder strap joints) with repair tape before a big trip.
If You Use a Heavier Pack
- Don’t let extra volume trick you into overpacking.
- Use compression to keep the frame engaged with the load.
- Accept the base weight penalty in exchange for long-term comfort and durability.
Maintenance: Keep Your Pack Carrying Well
Fit and loading are useless if the pack falls apart.
After Each Trip
- Empty everything and check seams and zippers.
- Brush off dirt; rinse mud and sweat with lukewarm water.
- Open all pockets to dry completely.
Every Season or Before Big Trips
- Inspect shoulder strap and hip belt stitching.
- Check buckles for cracks.
- Refresh repair tape on high-wear zones.
On-Trail Quick Repairs
Carry:
- A strip of Tenacious Tape or similar
- Needle and strong thread (or dental floss)
- Spare side-release buckle or a field-repair buckle
Patching a small tear early stops it from becoming a catastrophic rip.
Final Thoughts: Comfort Is a System, Not a Number
There’s no magic base weight that guarantees a comfortable hike. You can be miserable at 20 lb with a bad fit and awful packing, or mostly fine at 35 lb with a well-fitted pack and smart load.
Get the torso length right, position weight close to your spine, compress everything into a stable column, and stay on top of minor adjustments throughout the day. Do that, and your backpack stops being a burden and goes back to being what it should be: a tool that lets you walk farther with less fight.