When the wind is howling at 2 a.m. and the rain shifts from drizzle to sideways, your shelter stops being “gear” and becomes survival equipment. A good tent or shelter system isn’t about Instagram camp setups. It’s about staying dry, warm(ish), and sane when the weather turns or the miles stack up.
Why Your Shelter Matters More Than You Think
This guide walks through the main shelter types, who they’re for, and the real-world trade-offs you actually feel on trail: weight, durability, setup hassle, and cost.
Shelter Types and When to Use Them
1. Freestanding Backpacking Tents
Best for: Weekend hikers, unpredictable conditions, rocky ground.
Freestanding tents pitch on almost any surface and handle ugly weather better than most ultralight rigs.
Pros:
- Easy, fast pitch
- Stand up without stakes (handy on rock or sand)
- Good protection from bugs, wind, and moderate snow
- Heavier than minimalist options
- Bulkier in the pack
- Budget: REI Co-op Trail Hut 2 (~$199, ~5 lb / 2.27 kg) – Heavier, but durable and forgiving for beginners.
- Midrange: REI Co-op Half Dome SL 2+ (~$329, ~4 lb / 1.8 kg) – Good space/weight balance, solid 3-season performer.
- Premium: MSR Hubba Hubba 2 (~$549, ~3 lb 4 oz / 1.47 kg) – Proven design, reliable in rough weather if you anchor it properly.
Cons:
Field-Tested Picks (2P)
2. Semi-Freestanding and Trekking-Pole Tents
Best for: Long-distance hikers, weight-conscious backpackers.
Semi-freestanding and trekking-pole shelters trade convenience for serious weight savings. Some use minimal poles, others use your trekking poles as the main supports.
Pros:
- Substantial weight savings
- Good balance of protection and packability
- Require better site selection
- Guyline and stake skills matter
- Can be drafty if pitched high
- Budget: Six Moon Designs Lunar Solo (~$260, ~26 oz / 737 g, trekking pole) – Tight but serviceable for solo hikers.
- Midrange: Durston X-Mid 1/2 (~$240–$300, ~28–36 oz / 790–1020 g) – Excellent storm performance for a trekking-pole design.
- Premium: Big Agnes Tiger Wall UL2 (~$449, ~2 lb 8 oz / 1.13 kg) – Light, but treat it gently; thin fabrics.
Cons:
Field-Tested Picks (1–2P)
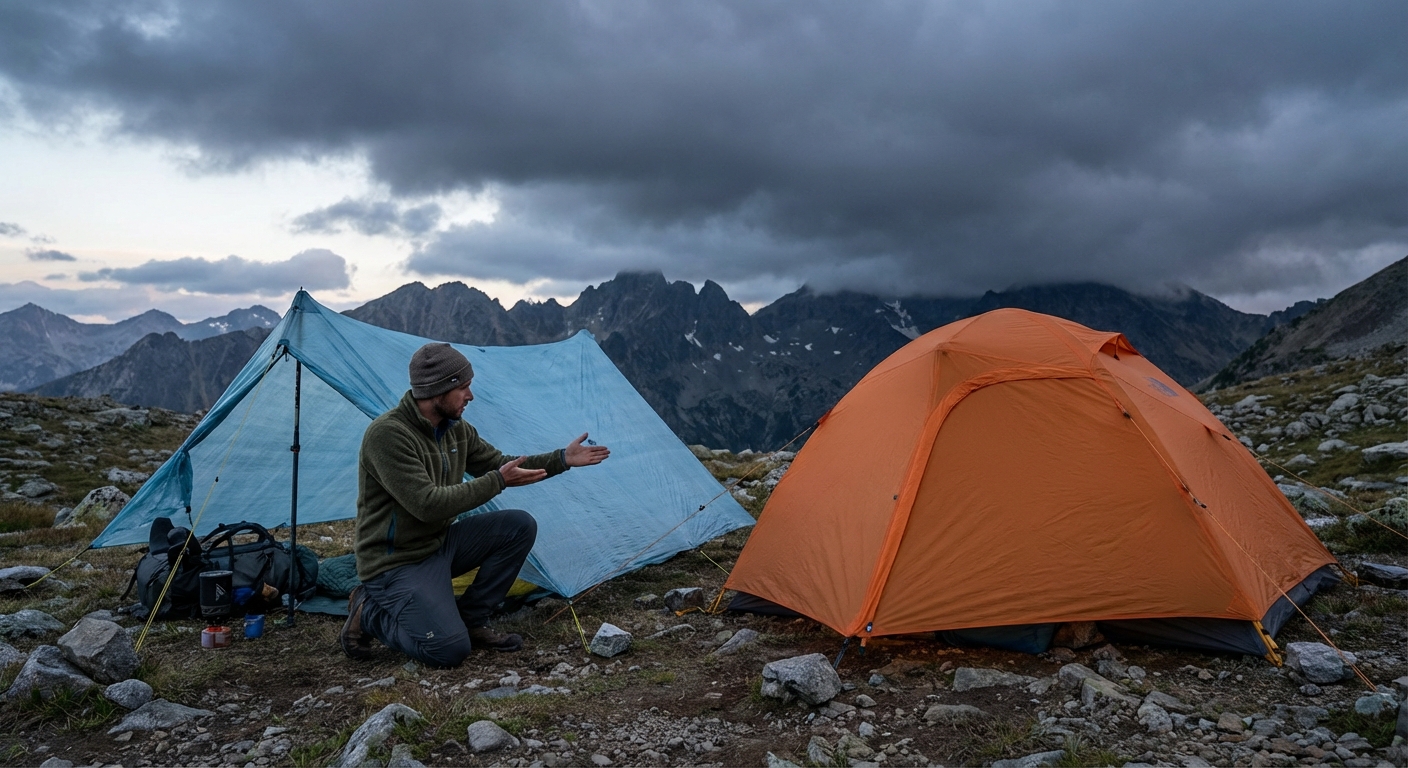
3. Tarps and Flat Shelters
Best for: Ultralighters, experienced hikers, dry climates, or shoulder seasons with solid forecasts.
A tarp is the purest shelter: a sheet, some cordage, and stakes. It forces you to learn wind direction, terrain, and pitch angles.
Pros:
- Extremely light and compact
- Highly versatile pitches
- Fast drying, minimal parts to break
- Exposed to wind and sideways rain if pitched poorly
- Bug protection requires add-ons
- Learning curve on setup
- Budget: Aqua Quest Guide Tarp (~$90, ~1.9 lb / 860 g for 10x7) – Bombproof for the money, not ultralight.
- Midrange: DD SuperLight Tarp (~$110, ~1.1 lb / 500 g) – Good balance of weight and toughness.
- Premium: Zpacks Flat Tarp (DCF) (~$300+, ~6–8 oz / 170–225 g) – Silly light, but you’re paying for it.
Cons:
Field-Tested Picks
4. Bivy Sacks and Minimal Shelters
Best for: Fast-and-light missions, alpine starts, emergency backup.
A bivy is a waterproof (or water-resistant) body bag for your sleep system. Often paired with a tarp in bad weather.
Pros:
- Minimal footprint; works in cramped or uneven spots
- Great wind and spindrift protection
- Condensation is a constant battle
- Claustrophobic for many hikers
- Not ideal for extended storms
- Budget: Outdoor Research Helium Bivy (~$230, ~1 lb 4 oz / 567 g) – Simple, light, not for multi-day storms.
- Premium: Mountain Laurel Designs SuperLight Bivy (~$255, ~7–9 oz / 200–255 g) – Pair with a tarp; great for UL setups.
Cons:
Field-Tested Picks
Weight vs Durability: Where to Draw the Line
Every ounce you save usually costs you durability, wallet, or comfort. Decide what matters most for your trips.
Fabric Weights and Reality
- 20D–30D floor & fly:
- Good durability for most hikers
- Survives occasional rocky sites if you’re not careless
- 10D–15D ultralight fabrics:
- Amazing in the pack, fragile on sharp ground
- Demands a groundsheet and careful handling
- 40D+ expedition or budget tents:
- Heavy, but nearly idiot-proof
Field Lesson: If you regularly camp on gravel bars, alpine rock, or desert sand with cactus and mesquite, skip ultra-thin floors unless you like patching gear.
Price Tiers: What You Actually Get
Budget ($100–$250)
- Heavier (4.5–6 lb / 2–2.7 kg for 2P)
- More robust fabrics, fewer delicate parts
- Less refined pole architecture and venting
Who it’s for: New backpackers, weekenders, anyone rough on gear.
Midrange ($250–$400)
- Sweet spot for most hikers
- 3–4 lb (1.4–1.8 kg) for 2P freestanding
- Better zips, poles, and vent design
Who it’s for: Regular backpackers, section hikers who want quality without babying every piece.
Premium / Ultralight ($400+)
- 1–3 lb (450 g–1.4 kg) shelters
- Cutting-edge materials (DCF, thin silnylon/silpoly)
- Tight tolerances, sometimes tricky to pitch perfectly
Who it’s for: Thru-hikers, ounce-counters, those willing to trade lifespan and cost for lighter miles.
Real-World Use: Weekend Hikers vs Thru-Hikers
Weekend Hikers
- Prioritize ease of pitch and forgiveness over shaving the last 10 oz.
- You can tolerate an extra pound if it means better sleep and fewer setup headaches.
- Freestanding or semi-freestanding 2P tent with 20D–30D fabrics
- Midrange price tier; durable enough, not disposable
Solid setups:
Thru-Hikers
- Count every ounce, but must survive 4–6 months of abuse.
- Condensation management, zipper durability, and repairability matter.
- Trekking-pole tents (e.g., Durston X-Mid, Zpacks Duplex)
- Light but not fragile floors (consider polycro or Tyvek groundsheet)
- Simple, repeatable pitch you can do in the dark while wrecked
Common thru-hike choices:
Care, Repairs, and Avoiding Shelter Failure
Setup Discipline
- Site selection: Choose higher ground, slight slope for drainage, and natural wind breaks (trees, boulders). Avoid depressions.
- Wind alignment: Point the lowest profile end into the prevailing wind.
- Stake strategy: Use all key guy points in bad weather; don’t skip corners.
Basic Maintenance
- Dry after every trip: Hang it indoors or in shade. UV is the enemy of coatings and fabrics.
- Shake, don’t scrub: Shake dirt and sand out. If you must wash, use lukewarm water and a tent-specific cleaner.
- Zippers: Keep them grit-free. A soft brush or canned air goes a long way.
Simple Field Repair Kit
Throw this into your repair pouch:
- 6–8 ft (2–3 m) of spare guyline
- A few extra stakes (aluminum Y-stakes are a good all-rounder)
- Tenacious Tape or Gear Aid patches (for fly and floor)
- Small tube of seam sealer (if your tent relies on it)
- Safety pins and a small needle with strong thread
One ripped guyout or small floor puncture shouldn’t end your trip.
When to Replace a Shelter
- Delaminated or flaky coatings leaving sticky residue
- Floor wets out under a sleeping pad in moderate rain
- Multiple patched stress points on poles or hubs
If you’re constantly babying it just to make it through mild weather, retire it to car-camping duty and upgrade for real miles.
Bottom Line
Choose the shelter that matches your terrain, mileage, and tolerance for discomfort, not the lightest or prettiest thing on the shelf. For most hikers, a midrange tent with sensible fabrics will serve better than a “museum piece” ultralight you’re afraid to use. Treat it decently, learn to pitch it in the dark and in wind, and your shelter will take care of you when the sky decides to get mean.