Most hikers buy shelters backwards: they pick something flashy online, then try to force it onto their trips. A smarter way is to start with how and where you actually hike—then choose the shelter that fits.
Start With Your Miles, Not the Marketing
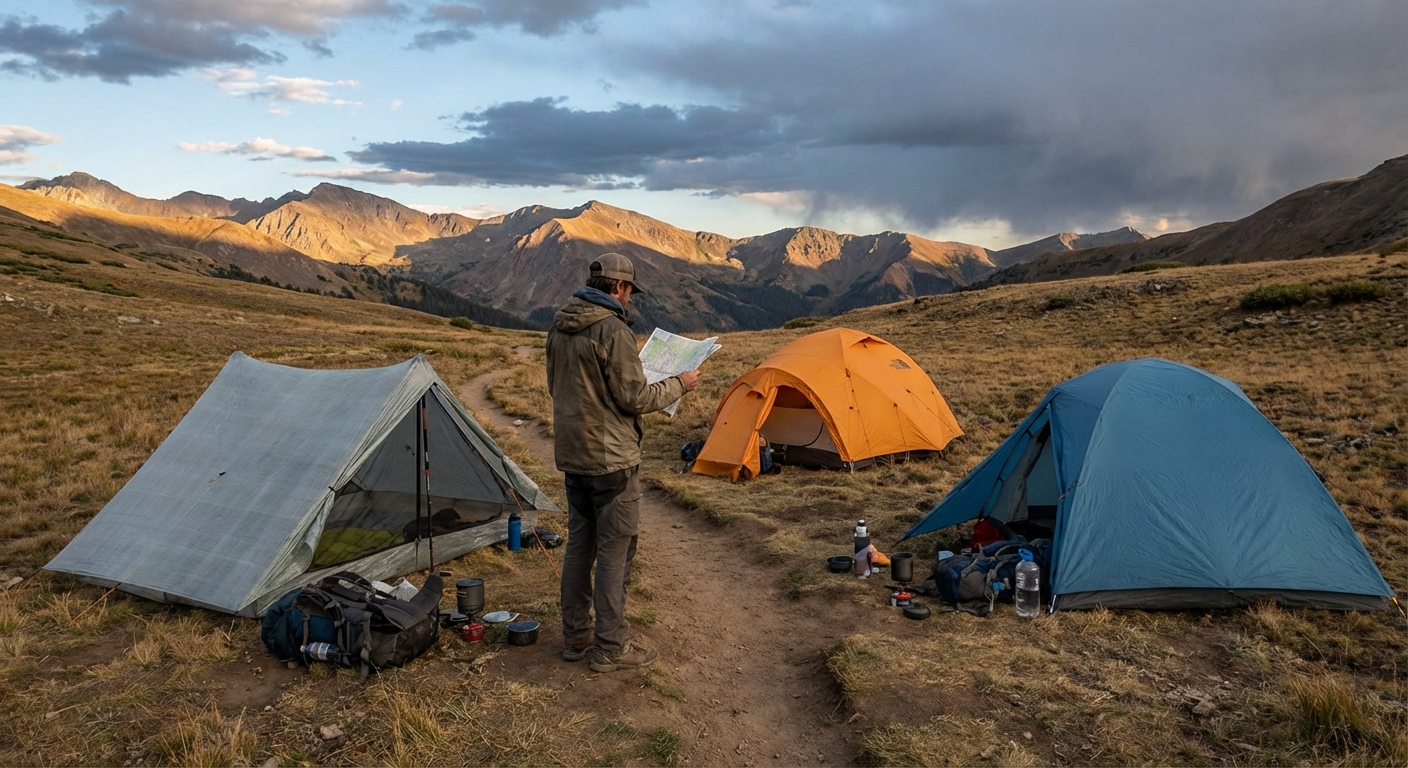
This piece compares three main styles of backpacking shelter strategy: ultralight, bombproof, and budget. Each can be the right choice in the right hands.
Strategy 1: The Ultralight Shelter System
Who it’s for: Thru-hikers, high-mileage backpackers, and people who obsess over base weight.
Ultralight setups target 1–2.5 lb (450–1100 g) for a solo shelter. You’re paying for weight savings with dollars and durability.
Typical UL Shelter Types
- Single-wall trekking-pole tents
- DCF (Dyneema Composite Fabric) or very thin silnylon/silpoly
- Tarps with bivy or inner net
Field-Tested UL Picks
- Zpacks Duplex (DCF, 2P): ~18.5 oz / 525 g, around $699. Trail classic for PCT/CDT hikers.
- Gossamer Gear The One: ~20.5 oz / 580 g, around $320. Simple, effective solo trekking-pole tent.
- MLD TrailStar + Bivy: ~19 oz / 540 g for tarp; modular, weather-tough once mastered.
UL Pros
- More miles for the same effort
- Less strain on knees and hips on big days
- Packs down tiny, freeing room for food and insulation
UL Cons
- Thin floors and flies: higher risk of punctures and tears
- Condensation: single-wall designs need good venting and pitch
- Cost is steep; not beginner-friendly to use or maintain
Hard Truth: If you’re rough on gear or lazy about camp selection, ultralight will punish you.
Strategy 2: The Bombproof Shelter Setup
Who it’s for: Shoulder-season hikers, high-wind areas, alpine routes, or anyone who frequently deals with real weather.
Bombproof doesn’t necessarily mean heavy, but you’re closer to 3–5 lb (1.4–2.3 kg) for a solo or 2P tent with stout materials and stronger poles.
Key Features of Bombproof Shelters
- Double-wall construction
- More poles and crossing points
- 30D–40D+ fabrics on floor and fly
- Lots of guy-out points
Field-Tested Bombproof Picks
- Hilleberg Nallo 2: ~5 lb 5 oz / 2.4 kg, around $955. Tunnel tent with serious storm chops.
- MSR Access 2: ~4 lb / 1.8 kg, around $699. For winter and shoulder seasons.
- Black Diamond FirstLight: ~3 lb 6 oz / 1.53 kg, around $500. Single-wall alpine tent for rough conditions.
Bombproof Pros
- Stable in high winds, driving rain, and some snow
- Tougher floors handle marginal sites
- More forgiving pitch; less obsessive about perfect orientation
Bombproof Cons
- Heavier and bulkier
- Warmer in summer; venting can be tricky
- Overkill for mild, predictable conditions
Use Case: High passes in the Rockies in shoulder season, exposed ridgelines, or trips where retreat isn’t straightforward.
Strategy 3: The Budget-First Shelter Approach
Who it’s for: New hikers, casual weekenders, and anyone testing whether they even like backpacking.
Budget shelters typically land in the 4.5–6 lb (2–2.7 kg) range for a 2P tent. Weight isn’t great, but durability can actually be solid due to thicker fabrics.
Budget Shelter Traits
- Heavier fabrics (50D floors are common)
- Simple pole structures
- Fewer vents and creature comforts
Field-Tested Budget Picks
- REI Co-op Passage 2: ~5 lb 5 oz / 2.4 kg, around $179. Simple and sturdy starter tent.
- Marmot Tungsten 2P: ~5 lb 4 oz / 2.4 kg, around $199–$229. Good value; reliable 3-season performance.
- Naturehike Cloud-Up 2: ~4 lb / 1.8 kg, around $160. Reasonable weight for the price; good for lighter use.
Budget Pros
- Easier on the wallet
- Tough floors resist casual abuse
- Great for learning pitching skills and shelter management
Budget Cons
- You carry more weight every step
- Bulky in the pack
- Less refined ventilation; condensation more likely in damp climates
Reality Check: If you only backpack a few weekends a year, spending $700 to save a pound is usually a bad trade.
How to Choose Based on Your Actual Use
Answer these questions honestly:
How many nights a year do you backpack?
- <10 nights: Budget or midrange. - 10–30 nights: Midrange to lighter options. - 30+ nights: Ultralight or bombproof depending on conditions.
Where do you mostly hike?
- Wet forests: Double-wall tents with good venting. - High, exposed terrain: Strong poles and solid guy-outs. - Desert: Good UV resistance and durable floors; freestanding helps on rock.
How careful are you with gear?
- If you toss gear around and camp on rock: Heavier fabrics. - If you baby your kit and pick cushy sites: UL can work.
Do you hike with trekking poles 100% of the time?
- Yes: Trekking-pole shelters make sense. - No: Freestanding or dedicated-pole tents are more practical.
Weight Trade-Offs in Real Terms
- 1 extra pound in shelter weight is noticeable, but not catastrophic on a weekend.
- Over a 150-day thru-hike, that same pound adds up in joint wear, fatigue, and pace.
If your longest trip is 3–5 days a few times a year, err on durability. If you’re planning a 2,000+ mile trail, every ounce on your back amplifies over time.
Durability: What Actually Fails on Trail
Most common failure points:
- Zippers: Grit and stress kill them. Keep them clean, don’t force them.
- Floor punctures: From rocks, thorns, or pine needles. Use a thin groundsheet for UL floors.
- Guy-out points: Over-tension and bad stitching can tear them away.
- Pole segments and hubs: Stepped on in the dark, or overstressed in gusts.
Practical Steps:
- Use a polycryo or Tyvek groundsheet for 10D–15D floors.
- Carry Tenacious Tape and a couple of splints or duct tape wraps for poles.
- Don’t crank guylines like a winch; snug is enough.
Shelter Care That Actually Extends Life
After Every Trip
- Dry completely before storage; mildew quietly destroys coatings.
- Shake out dirt; wipe mud from zippers and seam areas.
- Store loosely in a breathable bag, not compressed for months.
Seasonal Maintenance
- Reseal seams if you see flaking or cracking (especially older silnylon tents).
- Refresh DWR on fly if water stops beading and starts soaking in.
- Inspect guy lines and stakes; replace bent or cracked hardware.
Example Setups by Hiker Profile
The Weekend Warrior (3–4 trips per year)
- Shelter: REI Half Dome SL 2+
- Reasoning: Enough space for comfort, durable, not ultralight but manageable.
- Strategy: Spend less on extreme weight savings, more on a reliable, forgiving shelter.
The Aspiring Thru-Hiker
- Shelter: Durston X-Mid 1 or Gossamer Gear The One
- Reasoning: A solid intro to UL trekking-pole designs without DCF pricing.
- Strategy: Learn pitch techniques now so you’re not figuring it out in a thru-hike storm.
The Shoulder-Season Mountain Hiker
- Shelter: MSR Hubba Hubba 2 or Hilleberg Nallo 2
- Reasoning: Strong poles, stable design, can handle sketchy weather with proper anchoring.
- Strategy: Accept more weight for security above treeline.
Final Word: Be Honest About Your Needs
Don’t buy a shelter for the hiker you wish you were. Buy it for the trips you actually take.
- If you mostly hike in mild weather and close to trailheads, a budget or midrange tent is plenty.
- If you’re stacking 20–30-mile days, investing in ultralight makes sense.
- If your trips involve exposure, cold, and real storms, lean toward bombproof.
Match your shelter strategy to your habits, treat your gear with basic respect, and your tent will fade into the background—exactly where it belongs.