Most hikers fall into one of two traps: hauling way too much water “just in case” or gambling on trickles and puddles they hope will be running. Both mistakes cost you.
Hydration Without the Hype
Water is the heaviest thing most backpackers carry. Getting it wrong means fatigue, cramps, poor decision‑making, and in the worst cases, real danger. This guide strips it down to what matters: how much water you actually need, how to carry it, and how to adapt when the trail throws surprises.
Know Your Numbers: Baseline Water Needs
These are realistic, field‑tested starting points for 3‑season conditions.
1. Baseline Intake (Cool to Mild Conditions)
- Typical pace, 40–65°F (4–18°C):
- 0.4–0.6 L per hour of hiking.
2. Warm to Hot Conditions
- 65–85°F (18–29°C):
- 0.5–0.75 L per hour.
- High humidity or exposed sun:
- Push to 0.75–1 L per hour.
3. Cold Conditions
Cold masks thirst. You still lose water through breathing and sweat.
- Below freezing with moderate exertion:
- 0.3–0.5 L per hour.
Daily Range (Reality on Trail)
For most backpackers, 3–5 L per day is normal in 3‑season conditions, more in desert or heavy climbing.
Use these numbers to plan between water sources, not as a daily abstract.
Step 1: Scout Your Water Sources Properly
Before the Trip
- Guidebooks & trail apps: Scan comments from the same season and preferably the same month from past years.
- Topo maps: Look for perennial streams, springs, lakes. Small blue lines may dry up seasonally.
- Land managers: Ranger stations often know which key springs have gone dry.
On Trail
- Talk to hikers ahead of you: Ask specifically, "Was X source flowing today? Strong or trickle?"
- Visually verify on the map: Don’t chase rumors off‑route if it risks getting lost.
Step 2: How Much to Carry Between Sources
Work backwards:
- Distance to next reliable source: Say 8 miles.
- Your pace: Say 2.5 mph → ~3.2 hours.
- Temp/effort: Exposed, warm day → plan 0.6–0.75 L/hour.
3.2 hours × 0.7 L = 2.24 L.
Round up: Carry 2.5–3 L leaving the source.
Factor in:
- Dry camp ahead? Add 0.5–1.5 L for cooking and overnight sipping.
- Climbs? Add ~20–30% more for steep ascents.
When uncertain, carry an extra 0.5–1 L. But if you routinely finish sections with a liter untouched, you’re over‑carrying.
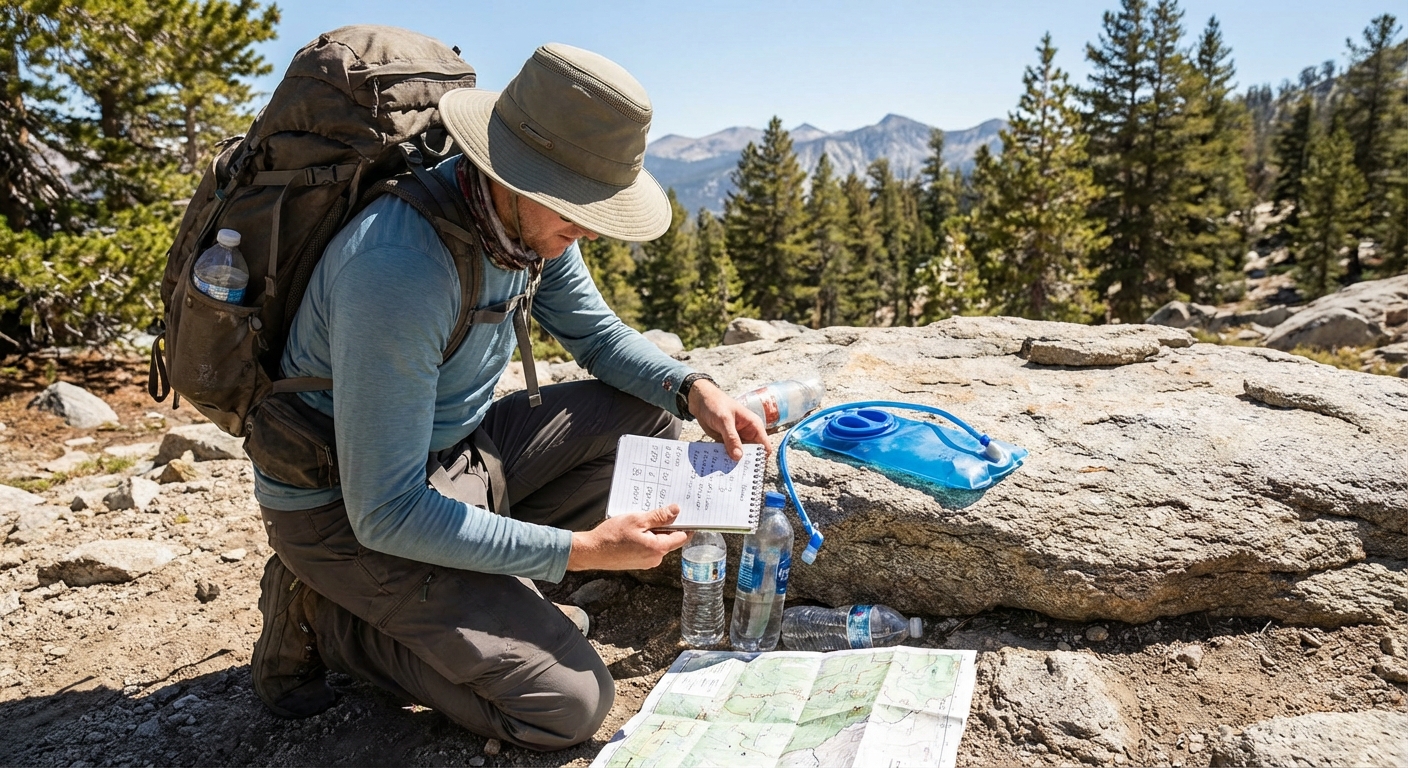
Bottles vs. Bladders: What Actually Works
Water containers are simple, but the details matter when you’re 15 miles from the trailhead.
Soft Bottles & Smartwater‑Style Bottles (Thru‑Hiker Favorites)
Pros:
- Cheap, light, tough enough for normal use.
- Thread pattern works with most squeeze filters (e.g., Sawyer).
- Easy to monitor how much you have left.
- Can crack in deep cold if frozen solid and flexed.
- Lifespan is finite; replace when they go cloudy or weak.
Cons:
Weight: 1–1.5 oz for a 1 L bottle.
Price: $2–$15.
Field Tip: Carry at least one hard‑sided bottle (like a Nalgene or similar) in winter for hot water bottles and to avoid freeze cracks.
Hydration Bladders
Pros:
- Easy to sip while walking → more consistent hydration.
- Big volume; great in dry stretches.
- Harder to track remaining water.
- Can puncture or fail at hose connections.
- More annoying to fill from shallow trickles.
Cons:
Weight: 5–8 oz for 2–3 L system.
Price: $25–$60.
Good Use Case: Long, predictable carries where you know you’ll drink 2–3 L between sources and want to avoid stopping.
Hard Bottles (Nalgene & Metal)
Pros:
- Nearly bombproof, great in winter as a hot water bottle.
- Wide mouth easy to fill from bad sources.
- Can mix strong flavors without permanent stink.
- Heavier for the capacity.
- Bulky.
Cons:
Weight: 6–7 oz for 1 L plastic Nalgene; 8–12 oz for metal.
Price: $10–$40.
Field Tip: When weight matters, carry one hard bottle max and use lighter bottles for the rest.
Filtration & Treatment: What’s Worth Carrying
The best system is the one you’ll actually use every time. Here’s what works in the real world.
Squeeze Filters
Examples: Sawyer Squeeze, Sawyer Mini, Katadyn BeFree.
Pros:
- Lightweight, easy, no chemical taste.
- Versatile: drink from bottles, dirty bag, gravity setup.
- Can clog if you don’t backflush.
- Destroyed if frozen.
Cons:
Weight: 2–3.5 oz.
Price: $25–$50.
Tips:
- Sleep with your filter or keep it in a pocket in freezing temps.
- Backflush every few days on silty water.
Pump Filters
Pros:
- Good for bigger groups or really nasty water.
- Typically more rugged housings.
- Heavier, bulkier, more moving parts.
Cons:
Weight: 10–16 oz.
Price: $70–$120.
Best for: Shared group setups, regular high‑sediment water.
Chemical Treatment (Drops, Tablets)
Pros:
- Ultra light, no moving parts.
- Great backup to filters.
- Wait time (15–30+ minutes).
- Some leave taste.
- Doesn’t remove sediment.
Cons:
Weight: Negligible.
Price: $10–$20 for many liters of treatment.
Use Case: Backup, winter (no filter freeze risk), or ultralight trips with clear, high‑elevation sources.
UV Purifiers
Pros:
- Fast treatment, no taste change.
- Effective against most pathogens.
- Needs batteries, clear water, and care not to break the device.
- Doesn’t remove sediment.
Cons:
Best for: Travel, hut‑to‑hut style trips, or as a supplement.
Weight vs. Durability: Finding the Line
Where to go light:
- Carrying capacity: Use soft bottles and collapsible bags for extra capacity instead of all hard bottles.
- Treatment: A squeeze filter + a tiny chemical backup beats a big heavy pump for most solo hikers.
Where not to cut corners:
- Backup method: Always have two ways to make water safe (e.g., filter + tabs).
- Winter gear: Relying on a cheap, freeze‑sensitive filter in single digits without backup is asking for trouble.
Salts, Electrolytes, and Not Bonking
You don’t need fancy powders, but salts matter, especially in heat.
Signs You’re Low on Electrolytes
- Headache not fixed by drinking.
- Muscle cramping.
- Feeling flat and weak, even with enough calories.
Simple Fixes
- Lightly salted snacks: nuts, jerky, crackers.
- Electrolyte tablets or drink mixes (Nuun, LMNT, etc.).
- A pinch of salt in your water if you’re desperate.
Field Tip: Use flavored electrolyte mixes in one bottle and keep another bottle with plain water. Chugging sweet drink mix all day gets old fast.
Care & Maintenance
- Rinse bottles and bladders at home: Don’t let them sit with old drink mix for weeks. Mold is lazy gear care made visible.
- Dry thoroughly: Hang bladders with the cap open; use a clean cloth or dedicated dryer if needed.
- Protect filters from freezing: Inside jacket during the day; inside sleeping bag at night.
- Inspect hoses and bite valves: Tiny leaks slowly empty your supply.
On long trails, plan to replace soft bottles and possibly filters mid‑hike.
Sample Hydration Strategies
Weekend Hiker (Forested, Good Water)
- Carry: 2–3 L capacity (two 1 L bottles + one 1 L collapsible).
- Treatment: Sawyer Squeeze + backup tablets.
- Method: Start with 1.5–2 L filled, top off at every decent source, rarely carry full capacity.
Desert Section Hiker
- Carry: 5–7 L capacity (mix of soft bottles and collapsibles).
- Treatment: Squeeze filter + chemical backup.
- Strategy: Calculate worst‑case spacing between verified sources and add a solid 1–2 L safety buffer.
Thru‑Hiker (Mixed Conditions)
- Carry: 3–4 L capacity, rarely all full.
- Treatment: Squeeze filter, chemical backup tabs.
- Strategy: Hike smarter, not heavier—camel up at sources, drink heavily there, and carry just enough between known flows.
The Bottom Line
Hydration isn’t complicated, but it is unforgiving if you get lazy. Know your personal intake, scout your sources, carry just enough, and always have a backup plan to make water safe.
The goal isn’t to carry more water. It’s to carry exactly what you need, no more and no less, so your legs stay fresh and your head stays clear when the miles get long.